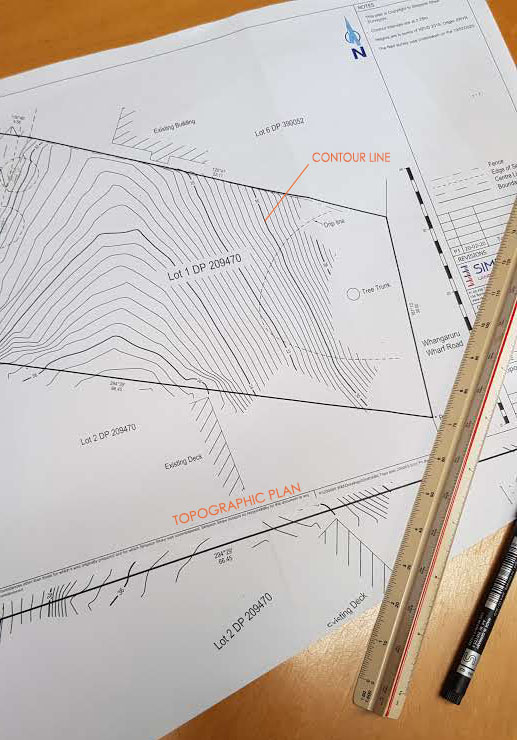
Making a site model is a useful exercise for architects during the preliminary design stage. It allows us to experiment with forms on the site; and to figure out what does or does not work. We recently created a physical model for our Whangaruru project. We documented the process with photos below.
Step 1: Site Model Contours
The first step when creating a physical site model is to determine the scale and overall size. We used a topographic plan as a guide to form the slope of the site. The lines shown on the topographic plan represent a ‘step up’ in the ground level – called contour lines. For this site, each contour line represents a 1m rise to the ground.
Step 2: Forming the contours
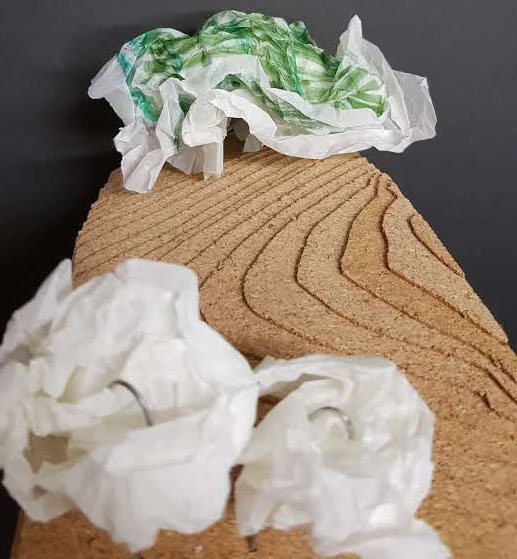
We chose to use cork for this site model, for its earthy texture. Each sheet of cork represents one contour line. When layered they form the overall slope of the site.
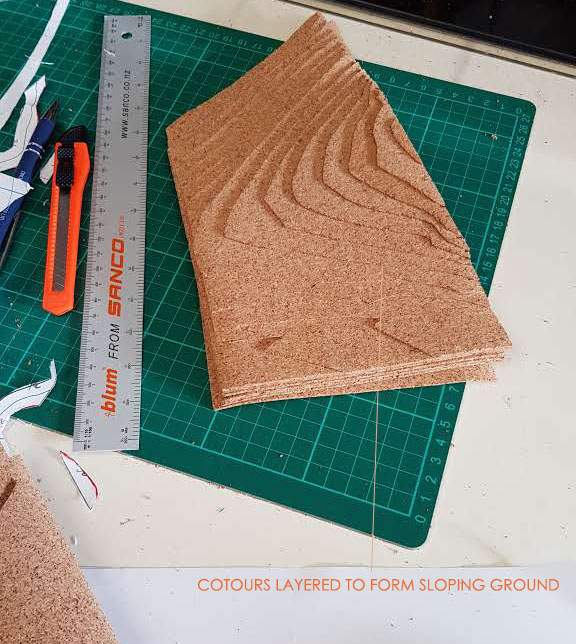
The topographic plan is overlaid onto each layer of cork and cut out using a craft knife. The cork sheets we used has an adhesive backing, this allowed us to stick them together easily.
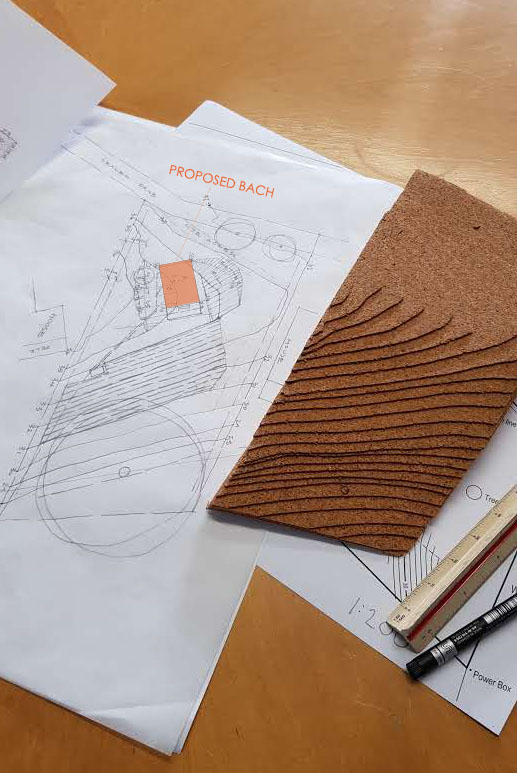
Site model with proposed site model adjacent – proposed bach illustrated as orange fill
Step 3: Final touches to the site model
The Pohutukawa tree at the rear could not be left off the site model as it is a dominant feature. We used butter paper and wire to form the tree. There are also two trees at the site entry – these were also made out of butter paper.
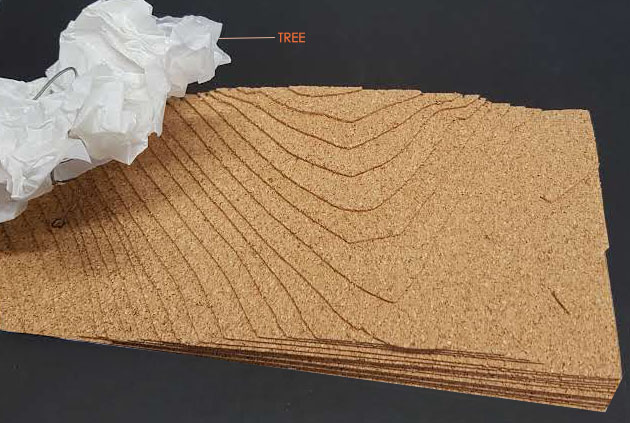
Outcome
The finished product illustrates the site in three-dimensions, particularly the slope to the ground. We hope to use this model to figure out where to cut into the ground and create a level platform for the proposed bach. It will also help us determine the proposed bach’s scale in relation to the rest of the site and how it interacts with the Pohutukawa tree at the rear. Watch this space for a model of the bach!
Links:
Follow us on Instagram for more posts like this one


